
Billing Medicaid as a Provider can seem hard at first!
The good news?
With the right Medicaid billing steps, it soon becomes routine.
Whether you run a solo office, work in a group practice, or just joined a Medicaid plan, you need a clear roadmap for the entire process.
This guide from BellMedEx gives you exactly that.
What Is Medicaid?
Medicaid is a health program jointly run by the federal and state governments in the U.S. It now covers more than 80 million people, including:
- Children
- Pregnant women
- People with disabilities
- Low-income adults
- Seniors who also receive Medicare (known as “dual eligibles”)
What’s the Difference Between Medicare and Medicaid?
Medicare is a health insurance program for people age 65 and older, and also for some younger people with disabilities.
✅ It’s federal, so the rules are the same in every state.
✅ Most people get it when they retire.
Medicaid is for people with low income, including children, pregnant women, seniors, and people with disabilities.
✅ It’s run by both the federal and state governments, so the rules can be different in each state.
✅ You can have Medicaid at any age if you qualify.
Some people even get both Medicare and Medicaid at the same time. They’re called “dual eligibles.”
Why Should Healthcare Providers Treat Medicaid Patients?
Many providers worry that Medicaid pays less than private insurance or Medicare. Still, three major reasons make it worth considering:
Large patient pool – Medicaid covers a fast-growing segment of the population, especially in underserved areas.
State-level incentives – Some states offer extra perks like value-based payments or higher rates for specific specialties.
Community impact – You’re helping some of the most vulnerable people. That service brings lasting value to your community.
Here’s How to Bill Medicaid as a Provider:
Billing Medicaid as a provider involves 7 key steps to ensure you get paid without denials:
1). Enroll as a Medicaid Provider
Register through your state’s official .gov portal. Submit NPI, licenses, banking info, and complete credentialing (takes 30–90 days).
2). Verify Patient Eligibility Before Each Visit
Check if the patient is still covered via the state portal, EHR, or helpline. Confirm plan type (MCO), service limits, and any third-party insurance.
3). Confirm Medicaid Covers the Service
Search your state’s Medicaid fee schedule by CPT/HCPCS code. Watch for prior authorization (PA) needs and service exclusions by state.
4). Secure Prior Authorization When Needed
For high-cost, long-term, or specialist services, submit a PA with CPT/ICD codes, proof of medical necessity, and track it until approved.
5). Submit Your Medicaid Claim
Use CMS-1500 or UB-04 forms. Include accurate ICD-10, CPT, POS codes, NPI numbers, and send via EHR, clearinghouse, or portal.
6). Track Each Claim and Match Every Payment
Monitor status via Medicaid portal or clearinghouse. Review remittance advice (RA) to catch underpayments, denials, or missed deposits.
7). Fix and Resubmit Denied Claims
Read the denial code (CO-16, CO-96, etc.), correct the issue, and resubmit before the timely filing deadline (usually 90–180 days).
🧠 Tip: Keep a denial log to avoid repeat mistakes and train your front-desk staff on eligibility and PA checks to prevent revenue loss.
🔽🔽🔽
Here’s a full breakdown of how to bill Medicaid successfully, from credentialing to getting reimbursed.
Step #1 – Enroll as a Medicaid Provider
You can’t send a single reimbursement claim to Medicaid until the program adds you to its roster. Therefore, your first job is getting on that list.
Think of it like joining the payroll before payday.
a). Find your state’s portal
Every state runs its own enrollment portal, and they all live on official .gov pages. A quick search for “[Your State] Medicaid provider enrollment” on Google will land you on the right link.
For example:
- In Texas, you’ll use TMHP (Texas Medicaid & Healthcare Partnership).
- In California, it’s PAVE (Provider Application and Validation for Enrollment).
If the web address doesn’t end in .gov or belong to a well-known state partner, then don’t trust it.
b). Collect the paperwork before you log in
Have these items ready before you start the Medicaid provider enrollment form:
| What you need | Why it matters |
| NPI number | Your unique provider ID |
| Tax ID (EIN) | Needed when you bill under a practice name. |
| Medical license and DEA registration | Proves you can treat and, if needed, prescribe |
| Specialty and service sites | Tells Medicaid what you do and where you do it |
| Bank details | Sets up direct deposit for fast pay |
c). Complete the online application
- Log in or create an account on your state’s portal.
- Follow each screen. Upload documents as asked.
If a field stumps you, most portals have a help line or live chat—so use it. You can also call the state’s Medicaid provider relations office, as that team’s entire job is guiding newbies like you through enrollment.
d). Let the state verify you
After you click Submit, the state reviews your file. This “Medicaid credentialing” step checks licenses and other data.
- Time frame is usually between 30 to 90 days.
- Faster for solo providers.
- Slower if you enroll a new group practice.
Once approved, you’re ready to send Medicaid claims and get paid as a healthcare provider.
Step #2 – Verify Patient Eligibility Before Each Visit

Eligibility verification simply means you confirm, ahead of time, that Medicaid still covers your patient and the service you plan to provide. A quick check spares you from most “patient not eligible” denials.
a). First, pick the method that fits your day:
- State Medicaid portal: Log in, type the patient’s Medicaid ID or birth date, and you get an instant “yes” or “no.”
- EHR or clearinghouse tool: Many systems ping Medicaid in real time. If coverage has lapsed, you’ll see a pop-up before the patient arrives.
- Medicaid helpline: A phone call takes longer, yet it helps when the portal is down or the data looks odd.
b). When you run the check, look for four things:
- Confirm active coverage for today. Benefits can end quickly if a patient’s income changes or renewal paperwork is delayed.
- Review service limits. Office visits are usually covered in most states, but extras—such as dental, vision, or chiropractic care—may have caps or require prior approval.
- Check for a managed care plan. Many Medicaid members belong to an MCO. If you see “Molina,” “UnitedHealthcare Community Plan,” or another HMO name, send the bill to that plan—not directly to the state.
- Look for other insurance. Third-party liability (TPL) means the patient has private insurance too. Medicaid pays last, so you must bill the other plan first, even if it only covers part of the charge.
Step #3 – Confirm That Medicaid Covers the Service
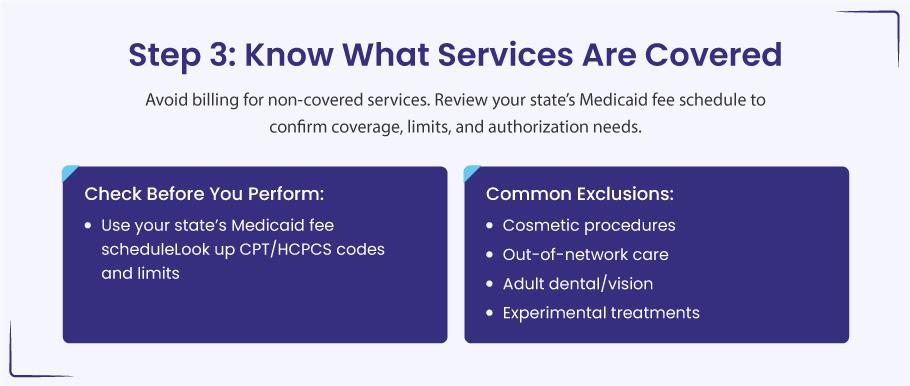
You have your Medicaid ID. You’ve checked the patient’s eligibility. One last check keeps your claim safe: make sure the service itself is on your state’s covered list.
When we say “make sure the service is on your state’s covered list,” we mean this: look up the exact CPT or HCPCS code for the visit, test, or procedure you plan to bill. If that code isn’t shown as covered in your state’s Medicaid fee schedule—or if it needs prior approval—you risk a denial.
Quick example:
You plan to give an adult patient a routine eye exam (code 92014).
- In Florida, Medicaid does not pay for routine eye exams for adults.
- If you submit that claim anyway, it will be denied, and you won’t get paid.
So here you see that Medicaid rules shift from state to state. A patient visit that sails through in North Carolina could hit a wall in Florida—or need prior approval in both. If you skip this check, you risk working for free.
Here’s how to see what Medicaid will pay?
a). Open your state’s fee schedule
Search for “Your State Medicaid fee schedule 2025.” Look for a PDF or spreadsheet on a .gov site.
b). Scan the CPT or HCPCS codes you plan to use
The schedule shows:
- Whether the code is covered
- The dollar amount Medicaid pays
- Any limits, such as age caps or visit counts
- Whether prior authorization is required
Example: North Carolina allows up to 30 physical therapy visits a year. Another state might allow only 15—or none, unless the patient is under 21.
c). Check plan bulletins for updates
States post monthly or quarterly alerts. A code that paid last year may need approval today.
d). Call the authorization desk when in doubt
A five-minute call beats a denied claim.
Services Medicaid Often Rejects or Restricts
❌ Cosmetic work such as Botox or laser skin treatments, unless medically required (for example, burns or trauma repair)
❌ Out-of-network care when you are not enrolled in the patient’s Medicaid HMO or lack a referral
❌ Adult dental or vision extras in many states (children usually have broader coverage)
❌ Experimental or investigational treatments unless the state grants a special waiver
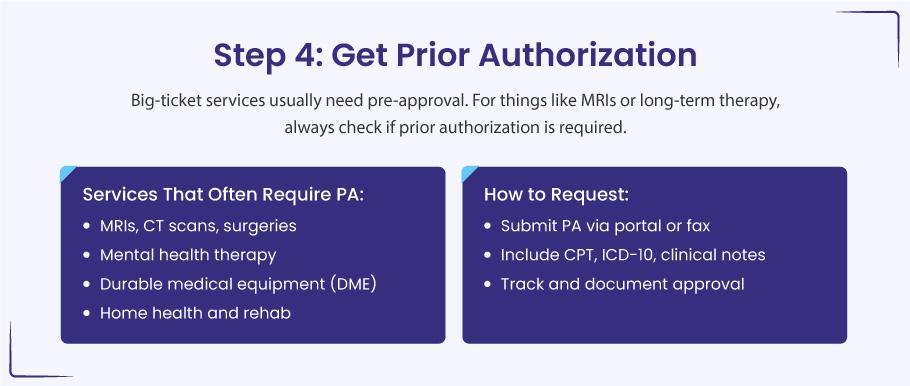
Step #4 – Secure Prior Authorization When It Counts
You have the patient’s Medicaid card on file, you know the service is on the covered list, and you’re ready to book the test.
Great…
but hold on a moment!
Some services need prior authorization (PA) before you provide them. Getting that green light is the difference between a paid claim and a painful write-off.
Why Medicaid asks for a PA?
Big-ticket, long-term, or specialty care can drain program dollars fast. A PA lets the plan double-check that the service is medically needed and that no cheaper, safer option is being skipped. If you treat first and ask later, the plan may deny the claim even if every other detail is perfect.
➜ Spot the usual PA suspects
As a rule of thumb, if a service is pricey, ongoing, or ordered by a specialist, plan on requesting a PA:
- High-cost imaging: MRI, CT, PET
- Elective surgeries: tonsillectomy, joint replacement, bariatric procedures
- Therapy past routine limits: mental-health counseling, speech, PT, OT
- Durable medical equipment (DME): power wheelchairs, hospital beds
- Ongoing home-health or skilled-nursing visits
Quick example:
Your patient with chronic knee pain clearly needs an MRI. You open the Medicaid HMO’s PA list and, sure enough, the scan needs approval. Rather than gamble on reimbursement, you pause, submit the request, and wait for the go-ahead.
➜ A simple roadmap for requesting PA
a). Choose the right portal
Every state—or Medicaid HMO—runs its own PA system. Some accept secure online forms; others still rely on fax. Therefore, you need to pick the path the healthcare payer prefers.
- Fill in the nuts and bolts
- CPT or HCPCS code for the service
- ICD-10 code that backs up the medical need
- Provider and facility info
- Target date of service
b). Attach proof of need
Your clinical notes, past imaging, lab results, or a referring specialist’s letter strengthen the request. Think of this bundle as answering the question, “Why does this patient need this service right now?”
c). Send, then track
Most plans give a decision within a few business days, sometimes sooner if you flag the case as urgent. Log the submission date and reference number so no one has to guess where the request stands.
d). After you hear back
- Approved. You’re free to schedule the service. Save the approval letter or confirmation number in the chart and billing file.
- Denied. Read the reason line by line. Many denials stem from missing paperwork or the wrong diagnosis code, both fixable on appeal.
- Need more info. Plans may ask for clearer notes or an extra test result. Provide what they need and resubmit; no need to start from scratch.
Tips that keep the process painless
- Train your front-desk staff. A quick PA check during scheduling stops last-minute scrambles.
- Watch the clock. PAs often expire in 30–90 days. If treatment is delayed, set a reminder to renew the approval.
- Keep a PA cheat sheet. A one-page list of services that always need approval in your state saves endless searches later.
- Flag urgent cases. Most plans have an expedited track for care that can’t wait. Use it when a delay could harm the patient.
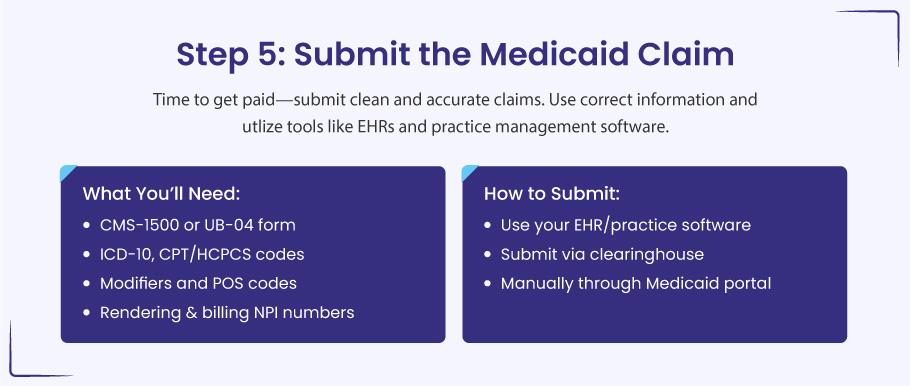
Step #5 – Submit Your Medicaid Claim
You have checked the patient’s coverage, confirmed the service is allowed, and grabbed any prior approval you need. Nice work. Now let’s make sure you actually get paid.
a). Pick the right claim form
- CMS-1500. Use this for office visits, shots, labs, or any other professional service.
- UB-04. Use this when you bill as a facility—hospital stays, outpatient surgery, skilled-nursing care.
Even if you hit “submit” inside your EHR, these forms sit behind the scenes. The software fills them in for you.
b). Drop in the correct codes
- ICD-10 tells Medicaid why you treated the patient.
- CPT or HCPCS show what you did.
- Modifiers add detail. For a flu shot given during a check-up, list:
- 99213 – office visit
- 90686 – flu vaccine
- 90471 – vaccine administration
- -25 on 99213 to prove the visit was separate from the shot.
c). Add a Place-of-Service (POS) code
This code shows where the care happened. A few you’ll use often:
- 11 – office
- 22 – outpatient hospital
- 12 – home
- 31 – skilled-nursing facility
Check this code twice. A wrong POS is a top reason claims bounce back.
d). List the right NPI numbers
- The rendering provider NPI must match the person who gave the care and must match the NPI on file with Medicaid.
- If you bill as a group, add the group NPI too.
e). Choose how to send the claim
- Through your EHR or practice management software. Fastest. The system fills the claim and flags missing data before you hit send.
- Through a clearinghouse. Acts like a mailroom: it scrubs errors, then routes the claim to the correct Medicaid payer.
- Direct upload to the state portal. Handy if you bill only now and then or do not have an EHR.
f). Track the claim afterward
Submitting is only half the job. Log back in a few days later and look at:
- Status – pending, paid, or denied
- Payment amount – matches your fee schedule?
- Remittance advice (RA) – explains reductions or denials
Catching a denial early often means a quick fix rather than a drawn-out appeal.
Step #6 – Track Each Claim and Match Every Dollar
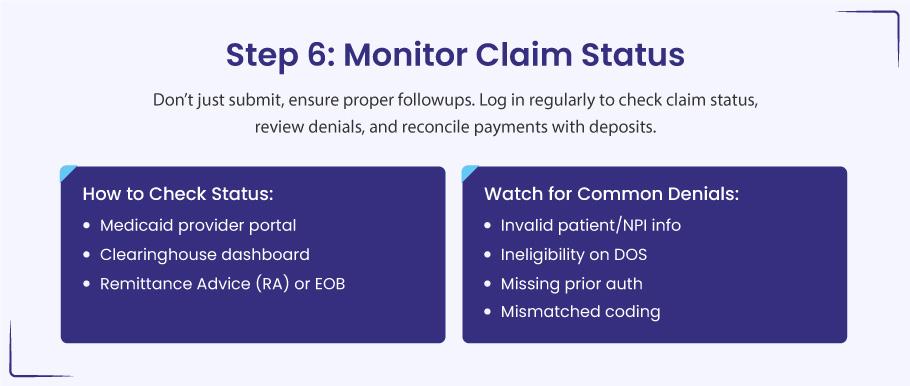
Submitting the claim is only halftime. To get paid in full, you still need to watch the claim move through the system and confirm the deposit hits your account. A little follow-through here prevents big revenue leaks later.
a). How to keep eyes on your claims
➜ State Medicaid portal
Log in, search by patient or claim number, and read the status line: submitted, pending, paid, or denied.
➜ Clearinghouse dashboard
Tools like Availity or Office Ally show real-time updates—when Medicaid received the claim, whether it passed edits, and when it heads to payment.
➜ Remittance advice (RA) or EOB
This document tells you what was paid, reduced, or refused and why. Review it line by line as soon as it arrives.
b). Denials that pop up most
- Bad patient data – a wrong Medicaid ID or mistyped birth date can sink the claim.
- Coverage gap – the patient was not eligible on the service date.
- NPI or Tax ID mismatch – your claim info does not match Medicaid’s enrollment file.
- Missing prior authorization – the service needed approval, but no PA number was on the claim.
c). Reconciling payments the smart way
- Match every deposit to the specific claim in your billing system.
- Flag under-payments at once—was it a contract adjustment or an avoidable denial?
- If you need to appeal, move fast; many Medicaid programs close the window after 90 days.
Step #7 – Fix and Resubmit Denied or Rejected Claims
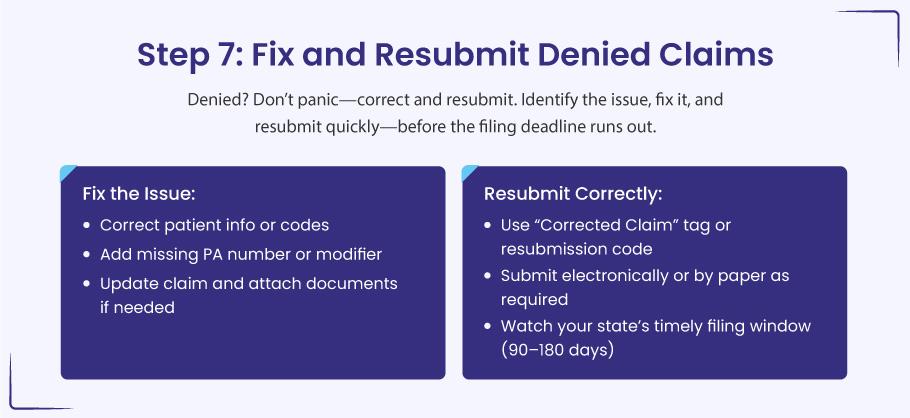
A denial is normal. It just means something on the claim needs a quick edit. Most states let you correct and resend—as long as you do it within their time limit (often 90–180 days from the date of service).
a). Read the denial note
Look at the Remittance Advice, EOB, or your portal. Find the short code that tells you what went wrong.
- CO-16 – missing or wrong info
- PR-49 – patient not eligible that day
- CO-96 – wrong code or modifier
- CO-109 – service not covered
b). Fix the problem
- Correct any typos in the patient name, Medicaid ID, or date of birth.
- Add the right modifier (-25, -59, etc.).
- Swap in the correct diagnosis or procedure code.
- Include the PA number if you left it off.
If the denial is about medical need, attach your notes or test results to show why the service was required.
c). Resend the claim
Use the same route you used before—portal, clearinghouse, or EHR. Mark it as a corrected claim if your state asks for that. Some states want the original claim number or a resubmission code (often “7” for a replacement claim).
d). Watch the deadline
Send the fix before the timely-filing window closes. If you are already past it, file an appeal right away and explain why you could not meet the deadline (for example, a system outage or mail delay).
e). Keep a simple denial log
Write down each denial in a list:
- Patient name and service date
- Denial reason
- Date you fixed it
- Date you resent it
- Final result
Seeing the patterns helps you prevent the same mistake next time.
Let Us Turn Your Medicaid Claims Into Quick Payouts
Hand your Medicaid claims to BellMedEx, a medical billing services company. We spot the tiny coding slips that trigger denials, talk to the payer for you, and stay on the case until you see “Paid” in your portal.