
Insurance claim denials slow your pay and pile on extra forms. Each rejected claim forces you to fix errors, send notes, and wait for money. Most of these rejections never had to happen. With a clear, data-smart denial management process in medical billing, you can stop them early.
This guide shows what a denial management process is, why insurers say no, and how to fine-tune each step so more claims get paid the first time. Follow the steps, and you will cut write-offs, speed up paydays, and free your team to focus on patients.
What is a Denial Management Process?
A denial management process in medical billing is the simple, repeatable system your billing team uses to track, study, appeal, and stop claim denials from health insurance companies such as Medicare, Medicaid, UnitedHealthcare, or Blue Cross Blue Shield. When a payer says “no,” payor reimbursement stalls. A clear process turns that “no” into a quick fix or prevents it in the first place.
There are two kinds of denials in medical billing:
| Denial type | What it means | Quick action |
| Hard denial | The payer will never pay (service not covered, filing deadline missed). | Write off or bill the patient; log the reason to keep it from happening again. |
| Soft denial | The payer might pay once you correct a detail (wrong code, missing chart note). | Fix the error, resubmit, and appeal if needed. |
Knowing the type guides your response and feeds clean data back into your denial management process for future prevention.
An example of soft denial with UnitedHealthcare:
1️⃣ Event – You bill CPT 99214 to UnitedHealthcare.
2️⃣ Denial reason – “Documentation insufficient: no progress note attached.”
3️⃣ Process in action
- Classify – Soft denial, documentation issue.
- Correct – Attach the progress note.
- Resubmit – Send the fixed claim within the payer’s window.
- Track – Log the denial reason in your dashboard to spot trends.
4️⃣ Result – Claim pays on the second pass; future staff training stresses “note attached” for all 99214 visits.
Why Do Insurance Denials Happen?
Insurance denials aren’t just frustrating—they’re expensive and time-consuming. While some denials are inevitable due to policy limitations, a large percentage are preventable with better denial management processes and awareness.
Below are the most common and critical reasons insurance payors deny claims.
❌ Patient Eligibility Issues
In any strong denial management process in medical billing, bad or missing eligibility data is the first thing to fix. If the payer shows the patient had no active plan on the date you treated them, the claim stops cold.
Why eligibility denials occur?
- The policy ended or paused before the visit.
- The plan does not cover the service you billed.
- Your clinic or hospital is outside the plan’s network.
Example:
A patient comes in on January 5. Their coverage ended December 31. No one ran a same-day eligibility check, so you send the claim to UnitedHealthcare. The payer kicks it back, saying “Coverage terminated.” Your staff now has to chase payment from the patient or write the balance off.
❌ Incorrect or Missing Patient Information
Every strong denial management process in medical billing depends on clean, accurate patient data. When the facts on a claim don’t match the payer’s records, the system blocks payment.
Common data mismatches:
- Misspelled patient name
- Incorrect date of birth or gender
- Missing or invalid insurance ID
- Any typo—just one letter off can trigger a denial
Example:
You submit a claim for Katherine L. Smith, but her insurance card says Kathryn Smith. The payer sees a mismatch and rejects the claim.
Why these errors happen:
- Staff rush data entry during check-in
- Manual keying leads to small but costly typos
When these errors slip through, the claim enters your denial management process, adding extra work and delaying payment.
❌ Lack of Prior Authorization
A solid denial management process in medical billing starts at the schedule screen.
For every planned test or treatment, it asks a simple question: “Does this payer need advance approval?”
If the answer is yes, staff must get that OK (the prior authorization) before the patient walks in and before the provider begins care.
Without it, the claim will not pay.
Common reasons an authorization is missing:
- No one filed the request.
- The payer denied the request, but the service still went ahead.
- The auth ran out of time or did not list every billed service.
- Team does not know each payer’s prior-auth rules.
Example:
An orthopedic group orders an MRI for a Blue Cross Blue Shield patient who has shoulder pain. The team skips the plan’s prior-authorization checklist, so no approval code is on file. After the MRI is done, the billing department submits the claim to Blue Cross Blue Shield. The payer rejects it with the remark: “Service requires prior authorization.”
❌ Medical Necessity Not Established
When a payer thinks a service was not needed, it denies the claim. A strong denial management process in medical billing must prove medical need in every note and code.
Why medical‑necessity denials occur?
- The patient chart notes lack clear findings by the patient’s healthcare provider.
- The diagnosis code does not support the CPT or HCPCS code.
- The payer tags the service as elective or cosmetic.
Example:
A patient gets a tonsillectomy, yet the record shows no history of infection, sleep apnea, or breathing trouble. You bill the claim, and the insurer rejects it for “medical necessity not met.”
❌ Medical Coding Errors
Medical coding is the core of a strong denial management process in medical billing. If a claim carries a wrong or outdated code, the payer will refuse to pay.
Typical coding mistakes:
- Wrong CPT or ICD‑10 code
- Codes that can’t be billed together
- Missing or wrong modifier
- Upcoding or taking a bundle apart
Example:
You bill a Level 4 office visit (CPT 99214), yet the notes only prove a Level 2 visit. The payer spots the gap and denies the claim for bad coding.
Why these errors slip through?
- Coders rush and pick the first code that looks close.
- Staff still use old cheat sheets instead of current rules.
- EHR templates auto‑fill codes that do not match the chart.
❌ Duplicate Claims
Duplicate claims drain any denial management program. Health plans (the patient’s insurer) deny a claim they see twice. A duplicate claim is any claim the plan gets more than once for the same patient, date, and service.
Why duplicate claims appear?
- A front-desk clerk or billing specialist taps Submit two times by mistake.
- The practice’s billing system resends the whole batch after a glitch.
- No one keeps a live log of claims that were sent, fixed, or denied.
Example:
Dr. Smith files a claim for a patient’s yearly check-up. A week later, unsure it went through, the billing team sends it again. The plan tags the second claim as a duplicate and rejects both.
❌ Timely Filing Limits
Every insurer (like Medicare, Medicaid, or a private plan) sets a hard deadline for receiving a claim from the physician’s office after the patient’s visit. Most payors allow only 90 to 180 days. If your clinic files even one day late, that claim dies. Therefore, a strong denial management process must track and beat every deadline.
Why timely-filing denials happen?
- Missing chart notes delay the coder.
- The billing specialist is swamped and misses the calendar.
- No one tracks each payor’s filing limit on a shared dashboard.
- The billing or EHR system has no auto-alert for looming deadlines.
- Staff don’t know every payor’s window.
- The denial management process in medical billing lacks a quick “deadline check” step.
Example:
Dr. Nguyen sees Maria on December 1. The chart needs the doctor’s addendum, so the coder cannot finish the claim. The billing team finally transmits the claim on May 1st — 151 days after the visit. The insurer’s cut-off is 120 days. So the result of the claim submission is: “Denied—past timely filing.”
How to Optimize your Denial Management Process?
Claim denials sting, but they don’t have to keep piling up. With a gentle tune-up, your denial management process can spot trouble early and stop most denials before they reach your inbox.
The steps below are calm, clear, and easy to follow. Use them to smooth out your denial management process in medical billing, lighten your team’s load, and let more of each payment reach your practice.

1). Start with Medical Claim Denial Analysis
Good data sits at the heart of every strong denial management process. Run a short review each month so you can see, in plain numbers, where money leaks out. Here are some quick tips you can follow:
➜ Track your denial rate. Count all denied claims, divide by claims sent, and post the score. Keep it under 5% to 8%. Use a simple color code—green for good, yellow for watch, red for fix now—so the whole team knows how you stand at a glance.
➜ Sort each denial. File them by reason code, payer, and provider. Patterns jump out fast. Maybe CO-22 (duplicate) spikes with one insurer, or one doctor’s notes land late every Friday. Clear groups let you fix the right spot, not the loudest one.
➜ Spot the top three repeat causes. List the three codes or issues that cost you most, then meet for a ten-minute “why” huddle each week. Close even one of those holes and you shrink half your denials in most clinics.
➜ Use a live denial-management software dashboard. Most third-party billing systems offer real-time widgets. Turn them on. Show claim counts, dollars at risk, and days since payer reply. Set pop-up alerts when a claim nears a filing limit.
➜ Track dollar impact, not just claim count. Some codes deny small bills in bulk; others hit a single high-ticket surgery. Rank codes by lost revenue first, then by volume. That order delivers the biggest cash win with the least work.
Run this simple loop every month, share the results at each staff meeting, and your denial management process in medical billing will grow clearer—and leaner—week by week.
2). Verify Patient Eligibility and Benefits Before the Visit
Coverage gaps cause a large slice of claim denials. A tight denial management process starts by making sure each patient’s plan is active and the service is covered before the doctor walks in.
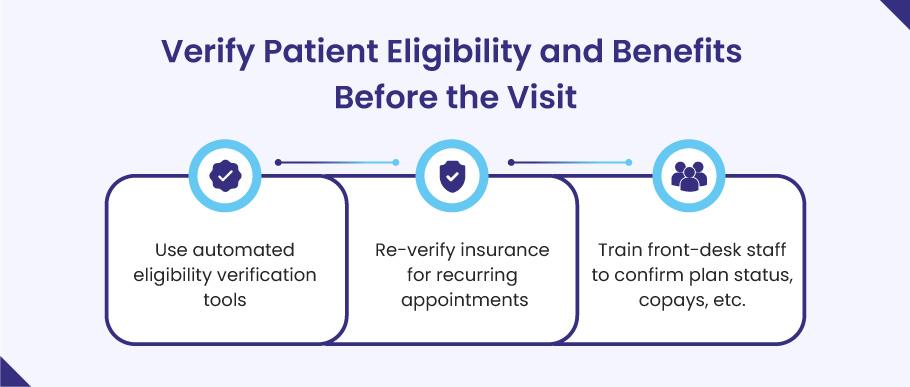
➜ Run real-time eligibility checks. Most practice-management or clearinghouse tools let you ping the payer in seconds. Turn that tool on and run it when you book the slot and again one day before the visit.
➜ Re-verify for repeat visits. Chronic-care and therapy patients often come every week. Plans can change mid-year, so check coverage for every third visit or every 30 days—whichever comes first.
➜ Train the front desk on three simple questions:
- Is the plan active today?
- What is the copay or deductible left?
- Do we need a referral or prior auth?
A two-minute script at check-in can stop hours of back-end rework.
➜ Collect copays on the spot. When staff quote the amount with confidence, patients pay more often, and your denial management process in medical billing sees fewer balance-bill disputes.
➜ Log each check in your EHR. Note the date, payer response, and staff initials. If a denial still hits, you have proof that coverage was confirmed.
A quick eligibility sweep like this keeps bad claims from ever leaving your office and tightens your whole denial management process from the very first step.
3). Get Prior Authorizations Right
Missing prior authorization is one of the easiest denials to dodge. A clear, early-warning system keeps your denial management process on track and stops these rejections cold.
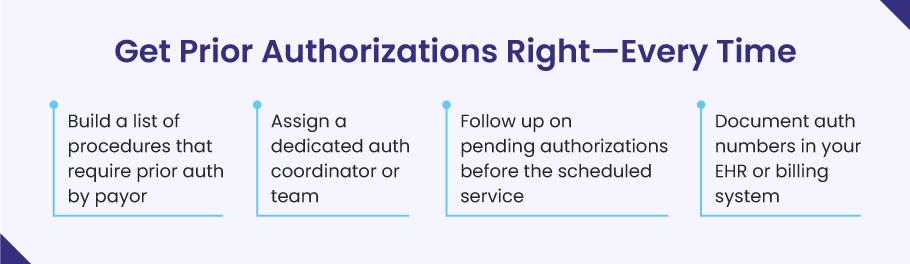
➜ Know the rules up front. Build a quick-lookup list of every test, drug, and procedure that needs prior authorization for each payer. Post it near the scheduler and keep a copy in your EHR.
➜ Give the job to one owner. Put a single staff member in charge of every prior-authorization request. When one person owns the task, no one can say, “I thought you handled it.” Everyone knows who to ask and who is accountable. This tight focus keeps the denial management process smooth and mistake-free.
➜ Use payer portals and e-forms. Most plans now offer online tools that cut approval time by days. Set up templates so staff fill in the form once and reuse it.
➜ Chase pending approvals before the visit. Check the queue 48 hours before the patient appointment. If an authorization is still pending, call the payer or push the portal for a status update so the patient is not turned away at the door.
➜ Record every authorization number in the billing system. Enter the code, approval date, and any visit limits right in the claim note field.
➜ Watch expiration dates. Some authorizations last only 30 days or cover a set number of visits. Set a calendar alert seven days before each one lapses.
➜ Review authorization denials each month. If the same payer or CPT code keeps bouncing back, update your checklist and retrain staff at the next huddle.
4). Improve Documentation and Coding Accuracy
If a service is not written down, payers act as if it never happened. Clear notes and clean codes keep the denial management process moving and protect every dollar you earn. Try these quick wins:
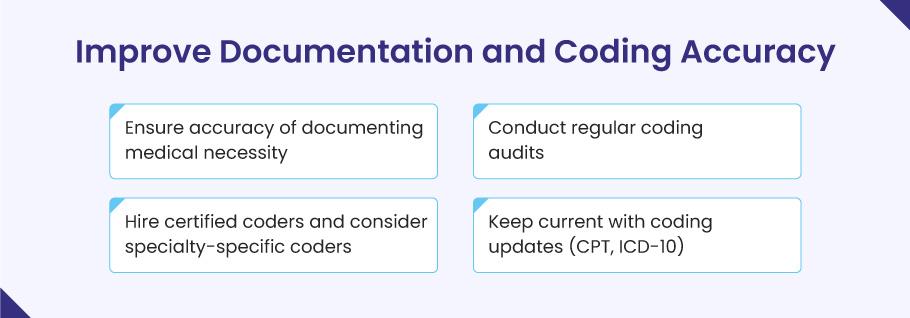
➜ Teach “why,” not just “what.” Show each provider how to spell out medical need, especially on high-cost tests or drugs. A short note that links the symptom, the ICD-10 code, and the CPT code cuts denials in half.
➜ Audit your codes each quarter. Pull a small, random set of charts—ten per doctor works—and check them against payer rules. Share the results in a five-minute huddle so fixes stick fast.
➜ Use certified coders. Hire or train at least one CPC- or CCS-certified coder. For fields like ortho or cardiology, add a coder who knows that niche. Deep skill stops costly up-coding or down-coding errors.
➜ Stay current on updates. CPT and ICD-10 books change every year, and some payers adopt edits mid-year. Set a calendar alert for October 1 (ICD-10) and January 1 (CPT) to load the new codes before they take effect.
➜ Add smart tools. Voice-to-text templates, “required-field” flags in your EHR, and AI prompts that spot missing modifiers all make it easier for busy clinicians to document right the first time.
Tight notes and precise codes cut rework, speed payments, and strengthen your entire denial management process in medical billing without adding more stress to the day.
5). Ensure Submitting Clean Claims
A clean claim sails through on the first try, pays fast, and never lands in the denial pile. Making “clean” your default saves hours of rework and keeps your denial management process lean. Here’s how to lock in that habit:
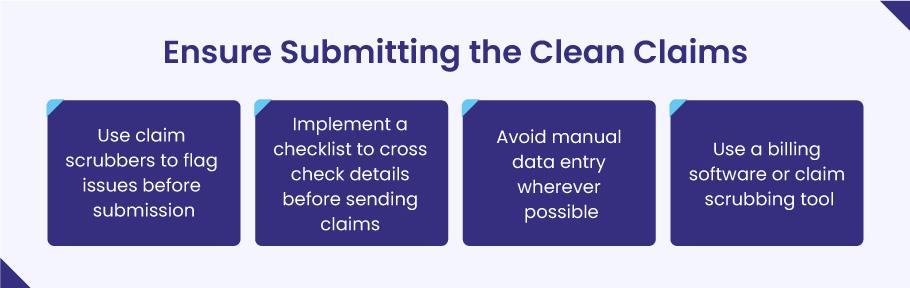
➜ Run a claim scrubber every time. Most billing software or clearinghouse portals have built-in scrubbers that scan for missing ZIP codes, wrong modifiers, or payer-specific edits. Turn the tool on, and set it to block the batch until all errors are fixed.
➜ Use a short pre-submit checklist. Before you hit “send,” confirm five basics: patient demographics, CPT/HCPCS codes, ICD-10 codes, needed modifiers, and the provider’s NPI. Post the list on the monitor so staff can tick each item in seconds.
➜ Skip manual typing when you can. Pull patient data straight from the EHR into the claim form. Auto-fill cuts fat finger error incidents—one of the top causes of dirty claims in any denial management process in medical billing.
➜ Add payer-rule edits. Medicare has MUE limits and some commercial plans demand extra modifiers. Load those rules into your scrubber so it flags the claim before the payer ever sees it.
💡 What is an MUE?
Medicare sets “Medically Unlikely Edits” (MUEs) to curb billing slips and fraud. An MUE tells you the max number of units you can bill for one CPT code on a single patient, on one day. If you bill more units than the MUE allows—say, 5 injections when the limit is 2—the claim will deny or cut back to the limit. Knowing these caps lets your team scrub claims up front and keeps the denial management process in medical billing running smooth.
➜ Lock the claim after send-off. Once the batch leaves the door, freeze the record. Late edits can break the claim and make matching payer replies a nightmare.
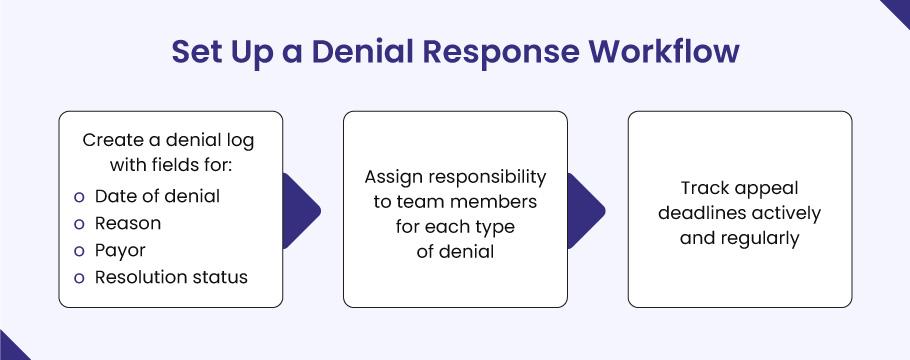
6). Set Up a Denial Response Workflow
Even the best denial management process won’t block every rejection. When a claim bounces, speed and order decide how much money you win back. Build a clear response flow that your team can follow without a pause.
➜ Keep one denial log. Use a shared sheet or denial-management tool. For each claim, jot the denial date, payer name, reason code, dollars at risk, and current status. A live log shows what still needs work and stops tasks from slipping through the cracks.
➜ Assign each denial to one owner. Give staff clear lanes—timely-filing denials to Maria, coding denials to Ben, prior-authorization denials to Kim. When one person owns the fix, no one asks, “Who’s handling this?”
➜ Track appeal clocks. Most payers give 30–60 days to appeal. Set auto alerts at 15 days before the cut-off. A missed deadline turns a winnable case into a dead loss.
➜ Use standard appeal letters. Keep templated forms in your billing software so staff fill in the blanks and send within minutes. Add proof: medical notes, EOBs, and the payer’s own policy that backs your case.
➜ Escalate on Day 30. If the payer is silent after a month, call the rep and ask for a status. Log the call in the denial record. Each note builds a paper trail that helps if you must file a second-level appeal.
➜ Review wins and losses each month. Share numbers at the staff huddle: appeals filed, dollars overturned, and common reasons. Quick feedback helps you spot new trends and tighten the denial management process in medical billing even more.
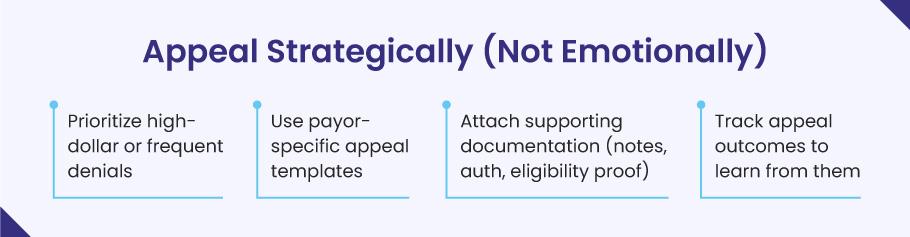
7). Appeal Only When the Win Is Worth the Work
A smart denial management process knows when to fight and when to move on. Appeals eat staff time, so pick your battles with care and build each case on solid proof and not frustration.
➜ Set a clear dollar rule. Many practices appeal claims that top $250 or represent a pattern that could snowball. Write the limit down so everyone follows the same playbook.
➜ Check the payer’s odds. Open your denial log and see which appeals you actually win. If late-authorization denials from Medicare have a 0% overturn rate, don’t waste hours on those cases. Instead, use that time to fix the root cause (get authorizations earlier) or to appeal other denials—like coding errors with Blue Cross—that you usually win. This focus keeps your denial management process efficient and your staff sane.
➜ Use payer-specific appeal templates. Most insurers publish sample letters. Drop your data into their format, and you avoid back-and-forth about missing fields.
➜ Attach the right proof. Add chart notes for medical need, the prior-authorization number, an eligibility screenshot, or the payer’s own policy that backs your claim.
➜ Follow the clock. Log the appeal date and the payer’s deadline, then set a reminder seven days before the due date. Late appeals die unread.
➜ Track every outcome. Record whether the payer paid in full, paid in part, or stood firm. Share the numbers at your monthly huddle. Wins show where to push harder. Losses show where to plug gaps earlier in the denial management process in medical billing.
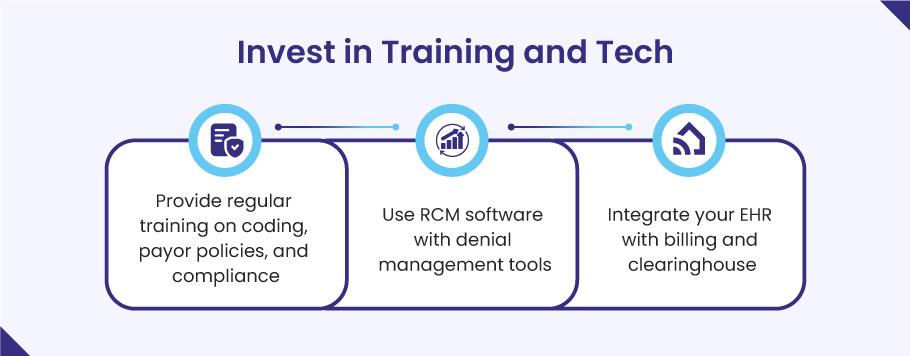
8). Invest in Training and Tech
People and software form the front line of any denial management process in medical billing. When staff know the rules and the tools run smoothly, denials drop fast.
➜ Train in short, steady doses. Hold a 20‑minute coding huddle each month. Review new CPT or ICD‑10 changes, top payer edits, and one real denial you just fixed. Tiny, repeated lessons stick better than long yearly classes.
➜ Teach payer quirks. Medicare’s MUE caps, BlueCross’s modifier rules, Medicaid’s authorization windows—walk through one payer policy at each huddle. Staff who spot these traps early file cleaner claims.
➜ Use revenue cycle software with denial tools built in. Modern RCM platforms flag missing data, show denial heat maps, and let you appeal in one click. Features like real-time eligibility checks and claim scrubbers save hours of back-end rework.
➜ Link your EHR, billing system, and clearinghouse. A tight link means the same patient data flows from chart to claim with no re-typing, slashing typo denials. Ask your vendor to turn on HL7 or API feeds if they’re not live yet.
➜ Run drills on the tools. Once a quarter, pick five sample claims and have new staff scrub, submit, and track them end-to-end while a lead observes. Hands-on time cements both tech skills and denial process steps.
➜ Reward accuracy. Track each biller’s clean-claim rate and share wins at staff lunch. A little praise keeps skills sharp and morale high.
Strong skills plus smart tech create a self-healing denial management process: errors surface early, fixes are quick, and cash comes in without a fight.
Outsource Your Denial Management Headache to BellMedEx
Sometimes the best way to fix a denial management process is to hand it to people who do nothing else all day. A focused partner can slash denials while your staff cares for patients. Here’s why outsourcing to a medical billing company like BellMedEx makes real, day‑to‑day sense.
Round‑the‑clock denial experts:
BellMedEx runs teams who speak payer “code” for a living. They track edits, appeal rules, and new MUE caps the moment they post. Your in‑house biller no longer has to chase every change.
Tools you don’t have to buy:
Their platform scrubs delinquent claims, tags high‑risk codes, and shows live denial heat maps. You get the power of enterprise‑level RCM tech without the license fees or steep learning curve.
Faster cash with fewer write‑offs:
BellMedEx clients often see denial rates drop below 4% and days‑in‑A/R fall by two weeks within a few months. Lower rework means cleaner cash flow and calmer staff.
Payer relationships on speed dial:
Seasoned reps at BellMedEx talk to insurer staff all day. That inside track can turn a 30‑minute hold time for you into a five‑minute status update for them and a quicker appeal win.
Clear, true reports:
You get weekly scorecards that list denial counts, dollars at risk, appeals filed, and dollars won back. No more guessing where the leaks are.
Pay for results, not overhead:
Instead of hiring, training, and keeping extra staff—plus paying for PTO and benefits—you pay BellMedEx a set fee or small percent of collections. If claims pay faster, their bill stays light.
Easy on‑ramp:
BellMedEx plugs into most EHR and billing systems through secure APIs. Setup often takes days, not months, with no down‑time for your clinic.
When your team is stretched thin or denials stay stuck above the 5% mark, handing the load to a firm like BellMedEx can turn the denial management process in medical billing from a stress factor into a sure thing.
👉🏻 Denial Management Services – Get Your Free Demo
Final Thoughts
Claim denials will never vanish from U.S. healthcare, but a smart denial management process keeps them from draining your time or cash. Use data to spot weak spots, tighten every front‑end step, and give your team clear ownership of each fix.
Remember the core rule of the denial management process in medical billing: “The best denial is the one that never happens.”
Start small—review your numbers, tune your workflows, and train your people. With the right tools and mindset, denial work shifts from a last‑minute scramble to a quiet, steady guard that protects your revenue every day.